Search This Blog

Monday, March 31, 2014

how the cookie crumbles

For all the seniors in high school, this is a very exciting time. The final decisions are coming back from colleges, and we all now have only one month until the final May 1 deadline to choose our futures. Some committed to schools early on in the year, and others (including myself) are still figuring everything out. For everyone though, the spring is coming which means our days left in high school are dwindling down! It's an exciting and overwhelming and bittersweet time of the year as one thing comes to an end and another gets ready to start up.

For me, this week made everything feel a little more real. It's coming down to June, and it's hitting me that I'm actually going to college next year. It hit me yesterday especially when my best friend Ronni told me she committed to Rutgers University. It's crazy that all my friends will be in different places next year, as will I. Nonetheless, we're all so excited, and that's just how the cookie crumbles.

Speaking of cookies... here's where the sweet part of the bittersweet comes in: the celebrations. When Ronni told me yesterday that she committed, I was on the drive home from visiting my sisters in Boston for Suzanne's birthday. The first thing I did when I got home was bake for Ronni and bring over a giant celebratory cookie for committing.

Knowing Ronni, who is also a healthy eater, bringing over a batch of sugar cookies or chocolate chip cookies would be a nice thought but also too tempting and they would either remain untouched or all be eaten within a day. Either way I knew Ronni would appreciate something a little healthier and in moderation more.

Because of that, I made Ronni a single serving giant chocolate chip cookie, but the nice surprise is that contrary to the taste, it's a pretty healthy cookie (her sister Callie can vouch that it doesn't taste like there's whole wheat flour in there!) Again I used the coconut sugar that my mom just bought, and because it's such a quick and easy recipe, when you're in the mood for a warm and comforting dessert without the guilt, this cookie is perfect.


Here's what you'll need:
yields 1 giant cookie
4 1/2 tbsp whole wheat flour
1/8 tsp baking soda
1 tbsp sugar
1 tbsp coconut sugar
1/2 tsp vanilla extract
1 tsp applesauce
1 tbsp almond milk
handful chocolate chips

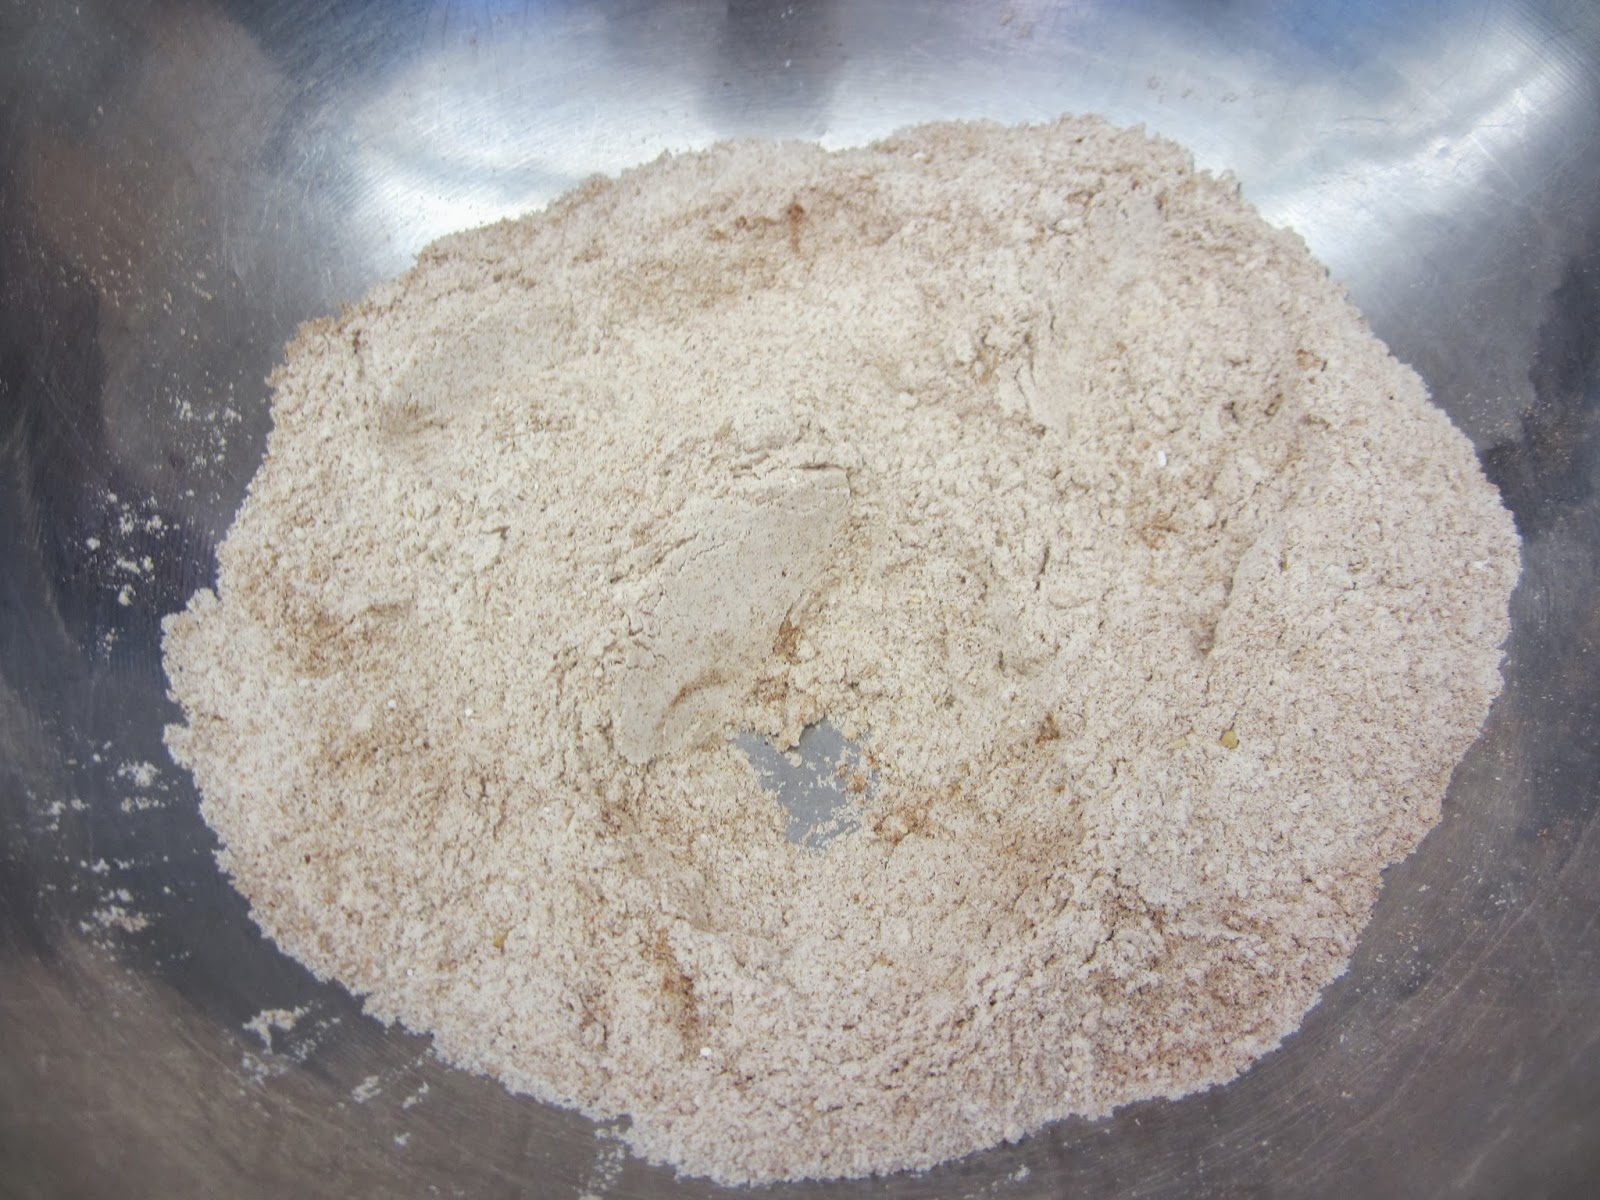
1.   Preheat the oven to 350 degrees. In a small bowl, mix flour, baking soda, salt, and sugars. Add in vanilla extract, applesauce, and almond milk and stir until dough forms. Add in chocolate chips.


2. Roll dough into ball, then press into 3/4 in thick circle on lined baking sheet.


3. Bake in the oven for 15 minutes, or until slightly golden.

4. Enjoy and celebrate!!!


Sunday, March 23, 2014

top of the muffin to you

I had made these muffins in my foods class earlier on in the year, and now is as good a time as any to post the recipe! Although it may sound a little strange to make muffins with zucchini, I promise you they tasted totally normal and sweet even, especially with added chocolate chips. Zucchini is a great source of vitamin C, and with ginger and cinnamon, there are additional health benefits as well. 

Here's what you'll need:
yields 12 muffins
1 flax egg (1 tbsp flax meal, 3 tbsp water)
1 1/2 cups whole wheat flour
1 1/2 tsp baking powder
pinch of salt
1/2 tsp baking soda
2 tsp ground cinnamon
1/4 tsp ground ginger
1/4 tsp ground nutmeg
1/2 cup packed dark brown sugar
1/2 cup unsweetened, natural apple sauce 
2 tbsp cooking oil
1 cup finely shredded zucchini
1 tsp pure vanilla
1/3 cup dark chocolate chips

 1. Preheat oven to 375 degrees. Line muffin tin.
 
2. Combine flax and water, stir and set aside until gel consistency forms.


3. Mix flour, baking powder, salt, baking soda, cinnamon and ginger in a large bowl.


4. Mix flax egg, sugar, apple sauce, oil, zucchini and vanilla. Add flour mixture, stirring until just combined. Stir in chips. Divide batter among muffin cups.


5. Bake 20 minutes or until browned and toothpick inserted in centers comes out clean.

6. Enjoy!!!


Wednesday, March 12, 2014

this [chocolate] bark is up the right tree

One of the hardest things to do when eating healthy is fighting off the temptation of cravings. I know a lot of people who say they could go for a burger and fries when they get in the mood (you all know that's not what I crave), or even a few heaping servings of ice cream. For me, at the end of the day I always find myself wanting a piece (or two) of chocolate. 

Another thing that varies by person is how working out influences food choices. For many, working out balances out those servings of ice cream as a reward. When I have a great workout, I don't want to ruin it by eating something that will make me feel like my hard work went to waste. I recently started working out before school, and I'm finding that my morning workouts act as a great motivator to eat healthy all day long (and keep me energized, contrary to how it may seem that I would be more tired). 

I made this bark recipe once before, but without a certain modification that I added today. The first time, the bark came out very bitter to the point that it wasn't very good. The concept of the chocolate nut and seed bark was something I really wanted to master though, so I tried again today with an additional ingredient that really hit the sweet spot I was looking for to create a guilt-free craving-queller.

This is a great snack or dessert because it's packed with great nutrients. The seeds and nuts provide protein and the coconut oil provides what seems to be everything: coconut oil has benefits for hair care, skin care, stress relief, maintaining cholesterol levels, weight loss, increased immunity, proper digestion and metabolism, relief from kidney problems, heart diseases, high blood pressure, diabetes, HIV and cancer, dental care, and bone strength. It also helps in brain function.. Yes, I know you're probably asking yourself, what doesn't it do? (My friend sent me a Buzzfeed article recently of "15 Reasons Why Coconut Oil is Your Best Friend" which I totally advise checking out.) 

I use coconut oil often and I've blogged about it quite a few times. The newest ingredient that I added to this recipe today, one that I just learned about recently, is coconut sugar. Derived from the flowers of a coconut tree, coconut sugar is a perfect natural sweetener with tons of benefits. It has a low glycemic index and is filled with vitamins, minerals, and amino acids including calcium, magnesium, potassium, zinc, iron, and glutamic acid. Minimally processed and unbleached, coconut sugar may look like brown sugar but far outweighs its nutritional content. 


Here's what you'll need:
yields about 20 servings
1/2 cup coconut oil
1/2 cup cocoa powder
1/8 cup honey
1/8 cup coconut sugar
a handful of each of your desired toppings:
sea salt
orange peel
walnuts
sunflower seeds
pumpkin seeds
Craisins

1. Melt coconut oil on the stove top.


2. Combine coconut oil, cocoa powder, honey, and coconut sugar. Mix well.


3. Spread liquid mixture in a tin with parchment paper. Add toppings!


4. Freeze for 2 hours (at least). Break into small pieces.


5. Enjoy!! (Keep refrigerated!)


References: http://www.livestrong.com/article/367337-what-are-the-benefits-of-coconut-sugar/

Sunday, March 2, 2014

coconutty in love

If you've followed my previous posts, you are not unfamiliar with the concept of a potluck, which is a go-to dinner plan for me and my friends (see fruit tacos and hummus for previous potluck ideas). It's an easy way for us all to gather and have plenty of food to eat and we've gotten good at having plenty of variety in what we make.

For Valentine's Day, my friends and I spent the night together and instead of a potluck for dinner, we had one for desserts. We all ordered in salads from Mixed Greens, and then dug in to the love-themed desserts we each made. I made strawberry lemonade cupcakes (see bottom right of the picture), but I will not be blogging that recipe. I wouldn't say it was exactly clean eating, but we can all make exceptions sometimes. My favorite dessert though was the cheesecake filled strawberries my friend Jess made. They were sweet but not overly filling or guilt-inducing, and perfect for a Valentine's Day treat!

Here are only some of the desserts!
Along with our dessert potluck, we had a "secret Valentine" swap. Using an online generator, each of us was assigned a friend to get a small Valentine for. Expecting to exchange small boxes of chocolate and little stuffed animals or mugs, we all just liked the elements of surprise and creativity that could go into the little gifts.

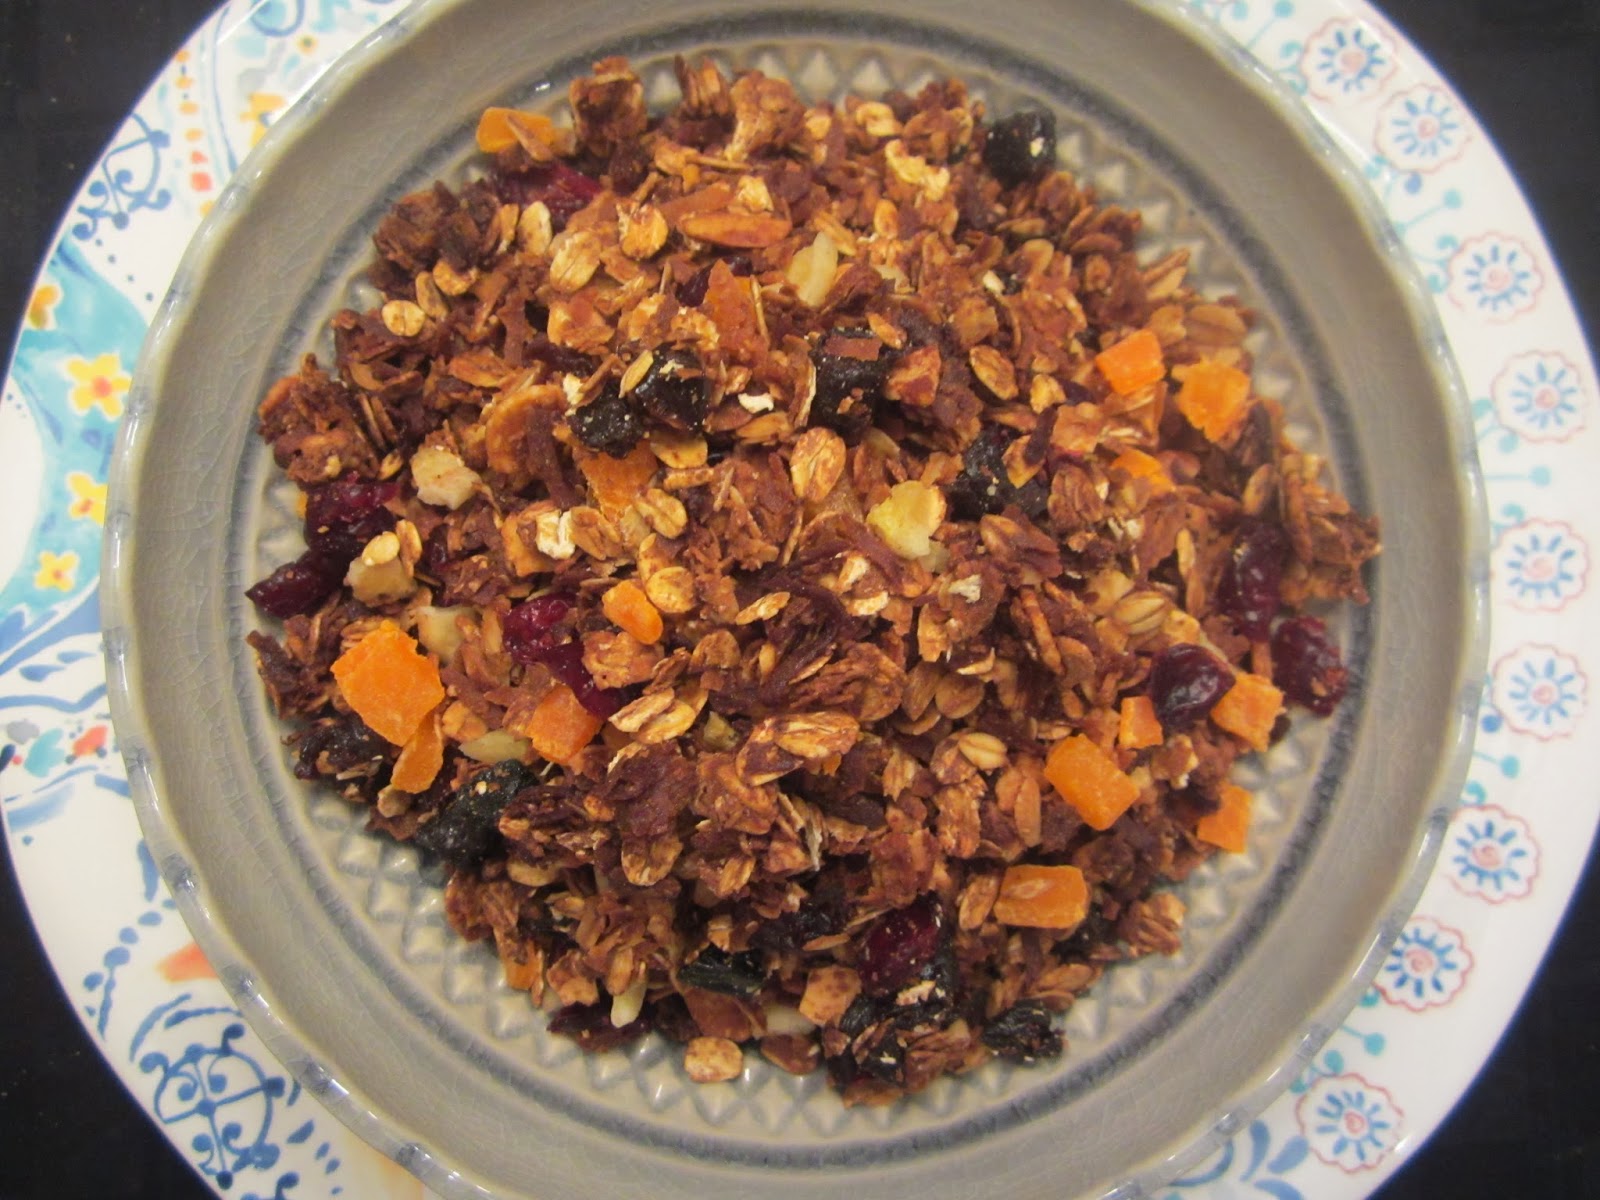
I was bracing myself to have to portion the chocolate I would receive over the next few weeks so as not to eat it all at once (which is always so tempting when you love chocolate as much as I do!), but my friend Zoe gave me such a thoughtful Valentine instead. She said that she knew I wouldn't want to have so much chocolate, and with her very creative and impressive culinary skills, she made me a whole canister of homemade granola! She put in prunes because she knows they're my favorite, toasted coconut because she said it taste great with my favorite Greek yogurt, and she gave me the recipe so that I could make myself another batch in the future!

The granola tasted amazing, and within the two weeks since Valentine's Day, my mom and I finished all of it, so today I made another batch. Forgetting that Zoe told me she cut her recipe in half for me, I made the whole thing, yielding enough granola to last us a while, regardless of how much we love it! So take the yield with caution, and you might want to cut the recipe in half!

The recipe is not limited to what I put into the granola, different dried fruits, seeds, and nuts are also suggestions to throw in there. When buying dried fruit, make sure to look for unsweetened and no-sugar-added fruit. Dried mangoes and prunes are two of the healthiest kinds of dried fruit out there, and dried banana usually has added sugar.


Here's what you'll need:
yields 8 cups granola (that's a lot!!!)
4 cups old fashioned oats
2 cups shredded coconut
2 cups sliced almonds
1 tbsp vegetable oil
1/2 cup honey
3/4 cup diced prunes
3/4 cup Craisins
3/4 cup diced dried mango
3/4 cup diced dried banana

1. Preheat the oven to 350 degrees. Toss the oats, coconut, and almonds together in a large bowl. Whisk together the oil and honey in a small bowl. Pour over the oat mixture and stir.


2. Pour onto two baking sheets, and bake for 25-35 minutes (depending on how crunchy you want the granola, but be careful not to burn it!)


3. While the oats are in the oven, dice up the dried fruit.


4. Remove the granola from the oven and allow to cool, stirring occasionally. Add the dried fruit.


5. Enjoy (some), and store the rest in tightly sealed container!


Monday, February 24, 2014

jicama new food

Last week I looked back at the recipes I've posted and the recipes that I've been making, and I realized they are all very much of the same. As most people do, I gravitate to my favorite foods, my familiar recipes, and my go-to snacks. Although each recipe demonstrates my persistence in clean eating and homemade favorites, very rarely do I try entirely new things.

In order to step outside of my box a little, I bought the first "new" health food that came to mind. I had tried jicama (pronounced hick-uh-muh) only once before, and I didn't know much about it. So I researched the nutrition of it and some ideas on how to eat it, and I got going in the kitchen experimenting!

Jicama is a root vegetable that provides vitamin C for skin health, fiber for bowel health, and can increase absorption of certain minerals and improve nutritional intake. There is virtually no fat and few calories in a serving of jicama. Its crisp texture is comparable to that of water chestnuts, and can be eaten raw. 

Some recipes I saw that used jicama included stir-fry, salsas, refreshing fruit salads (mangoes, pineapples, watermelons, cucumbers), and used as a "vehicle" for dips (I like the way that sounds). I also found various uses of jicama as a substitute for French fries, which is what I tried last night.


Here's what you'll need:
yields 2-3 servings
1 jicama root
olive oil to drizzle
spices to taste - I used paprika, cayenne, and chili powder

1. Preheat oven to 250 degrees F. Cut jicama in half, then slice into centimeter-wide slices (or preferred shape of fries). Slice off ends after cutting, or peel initially. 

I don't know why this picture won't upload the right way.. turn sideways for correct orientation


2. Toss jicama slices in oil and coat with spices. 


3. Bake for 45 minutes. Enjoy!!

They look very much the same before and after cooking

Friday, February 21, 2014

oh my kash[a]

When I was younger my mom used to make a dish she called "Kasha Vanishkas". That's how it was pronounced, and that's what I knew it to be. I remember picking out the bowtie pasta noodles from it and always liking the taste. So when my foods teacher told us that we were making kasha varnishkes it took me a few minutes to realize it was the same dish. It's a tradionally Jewish dish and I guess with the Yiddish pronunciation it sounded different.

The cool thing about this recipe is that kasha is roasted whole grain buckwheat groats. Buckwheat is not actually a grain, it's a fruit seed related to rhubarb and sorrel that is a great substitute for grains. It's packed with fiber, whole grain, protein, and starch. Buckwheat helps with digestion, high blood pressure and is chemical free; it grows so quickly that it doesn't require pesticides for it to grow well. Seasonally, buckwheat is a "warming food", perfect for cold weather like right now!


Here's what you need:
yields 4 servings
1/2 cup kasha, medium granulation
1 tbsp vegetable oil
1/2 yellow onion, peeled and chopped
1 cup vegetable broth
salt and pepper to taste
1 cup whole wheat pasta bowties (I used elbows instead)

1. Boil the pasta in salted water until just tender. While the pasta is cooking, heat the oil in a large saute pan and saute the onions until clear. 

2. Add the vegetable broth and bring to a boil.


3. Add the kasha. Stir and cover. 

4. Cook over low heat, sitrring now and then until the kasha is tender (about 5 minutes). Drain pasta well and stir into kasha. Add salt and pepper to taste.
5. Enjoy!!!


*Fun fact: The pan was slanted on the stove top (look at the picture of the onions, oil, and broth in the black pan), so we changed pans in midway through this recipe. Did you notice the difference in pans?