Search This Blog

Tuesday, November 19, 2013

crunch time

As the last of the Halloween candy is being eaten (if yours lasted this long, I commend you!), but before indulging in all of the Thanksgiving goodness, now may be a hard time to eat healthy. We're at the homestretch.. the week before Thanksgiving is here. This year Chanukkah is next week as well, and Christmas is not long after (not to mention my birthday in between!) There are a lot of reasons to celebrate coming up, and this revamped crunch bar recipe is a great guilt-free way to treat yourself (and others) during these festive months.

I originally made this recipe in my foods class at school, and it tastes pretty dark, and I would do without the peanut butter drizzle next time (as much as I love peanut butter, I don't think this recipe needs it).I also would pour the chocolate mixture into a larger pan so that the bars are thinner and resemble the chocolate bar more. That way they're easier to pop in your mouth, too! Especially because - due to the coconut oil these are made of - unless chilled, they will melt pretty quickly in your hands!


Here's what you'll need:
yields 12 large crunch bars
1 cup coconut oil
3 cup unsweetened cocoa powder
10 tbsp maple syrup (or agave)
2 tsp vanilla extract
2 cup Rice Krispies cereal

For the peanut butter drizzle:
1/4 cup all-natural peanut butter
3 tsp coconut oil
1 tsp pure maple syrup (or agave)

1. Line a square pan with two pieces of parchment paper, one going each way. In a pot over low heat, melt the coconut oil and then whisk in the rest of the crunch bar ingredients (except the cereal).


I promise the oil is there! 


2. Once the mixture is smooth, remove from heat and stir in the cereal. Pour mixture into prepared pan and freeze for at least 20 minutes, or until the chocolate is solid.


3. For the peanut butter drizzle: Melt the coconut oil and then whisk in the peanut butter and syrup.


4. Remove crunch bars pan from freezer and cut into small bars. Using a spoon, drizzle the peanut butter mixture onto the bar.


5. Freeze for 5 more minutes, or until the drizzle solidifies.

6. Serve immediately. Enjoy!


Thursday, November 14, 2013

where the wild things are

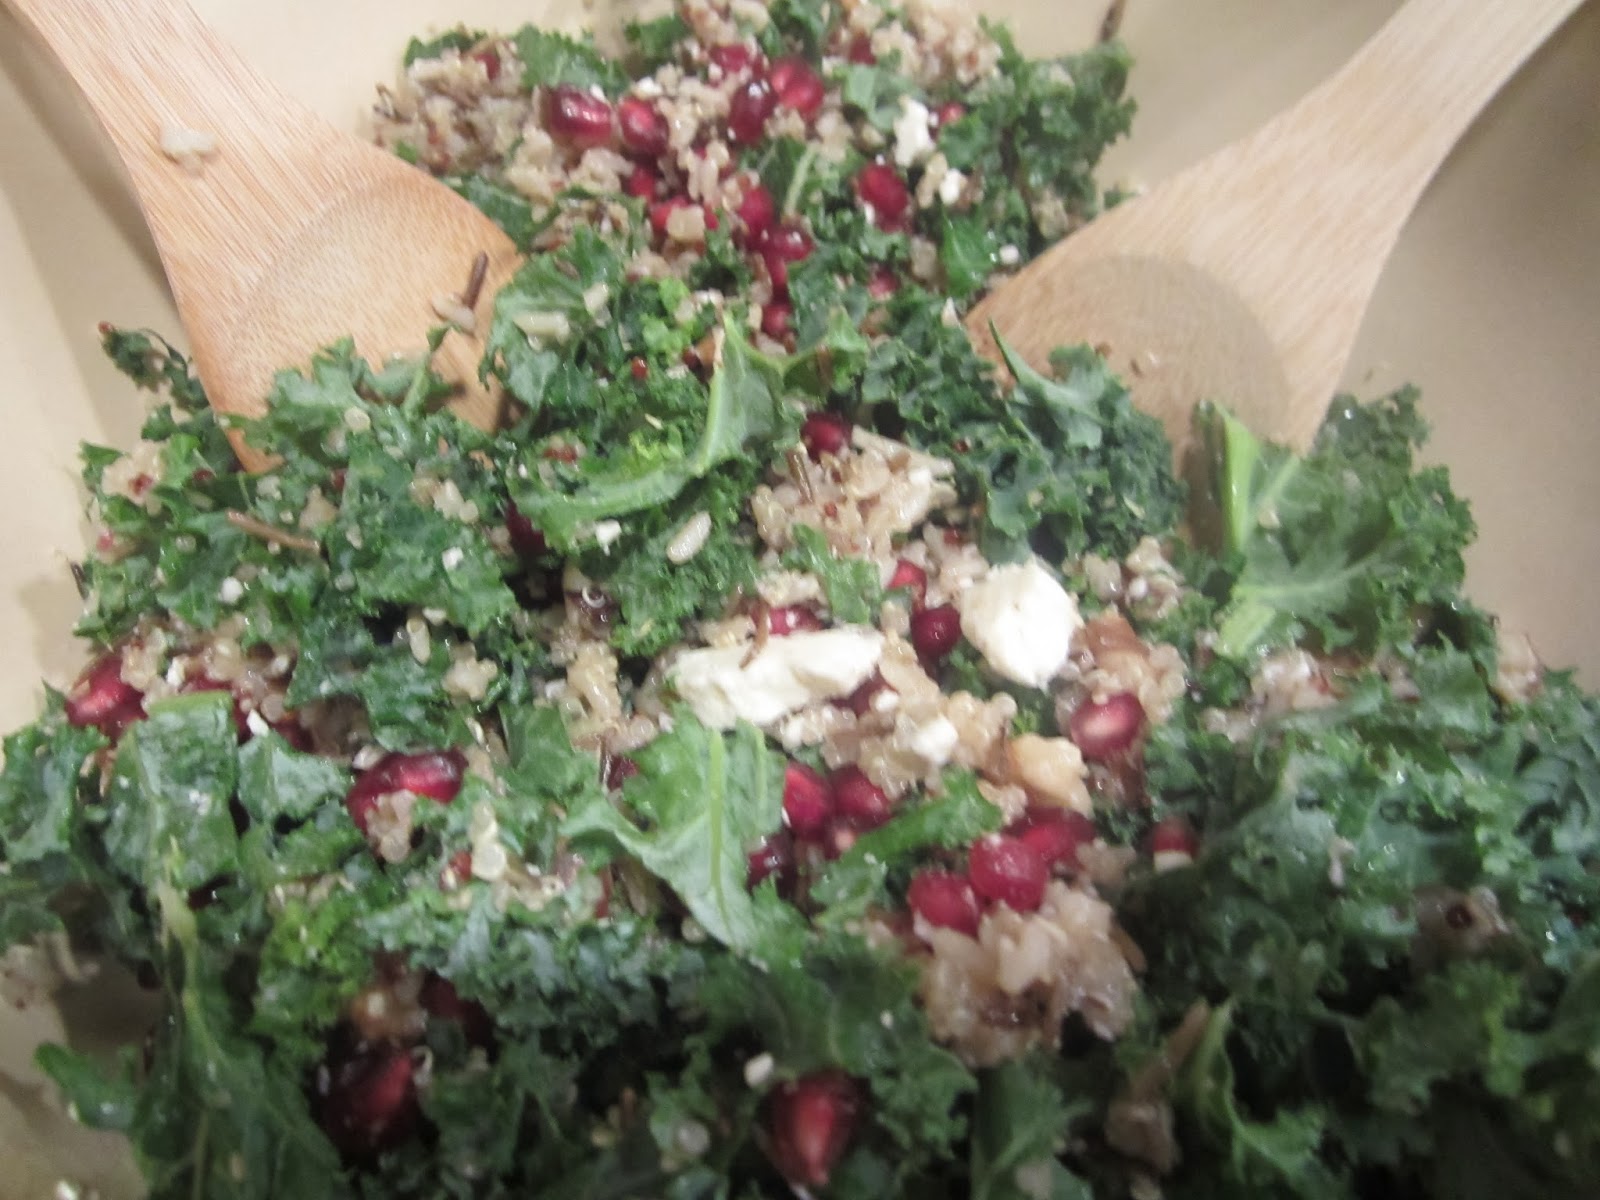
Last night with dinner I made this amazing salad. The combination of all of these ingredients was incredible; there was a little bit of everything put together. I bet a few of these ingredients you wouldn't think to mix, but the crunch from the seeds and nuts, the crumble from the cheese, the wholesomeness from the great grains mix I used, and the kale to bring it all together along with a great, subtle dressing all tasted just perfect. I really liked the dish yesterday, but after a night in the fridge, the leftovers were even better at lunch today. It's an easy recipe, so everyone should try making this wild rice and kale salad!

Such a good rice blend!
Plus, the salad is filled with nutrients. I've blogged about kale enough times for you all to know that it's a great super-food! The walnuts and feta provide protein and the apple cider vinegar can help relieve nausea and can help lower cholesterol and blood pressure. Pomegranate seeds are a good source of Vitamins C and K, and are packed with polyphenols, which help reduce risks of cancer. Lemon juice is also beneficial for constipation and indigestion and is also a good source of vitamin C.


Here's what you'll need:
yields 6-8 servings
for the salad:
1 cup pomegranate seeds
2 cups chopped baby kale
2 cups cooked wild rice
1/2 cup toasted walnuts
1/2 cup feta cheese
for the dressing:
1/2 cup minced onion
2 tbsp olive oil
2 tbsp water
2 tbsp honey
1/2 tbsp apple cider vinegar
1/2 tsp salt
juice from 1 lemon
*Today I added 1/2 cup sunflower seeds when I took it for lunch at school

1. Chop the kale, toast the walnuts, and mince the onion.


2. Saute the onion in 1/2 tablespoon of olive oil until golden. Remove from heat and mix dressing ingredients together.


3. Toss salad ingredients together with dressing. For best results, refrigerate salad before serving.


4. Enjoy!!


Sunday, November 10, 2013

not your average "Joe's" recipe

One of the great things about having this week off from school was that there was a lot of time to just hang out. I found myself getting to sit around with friends, which is something none of us have the time to do every day on a regular basis. A favorite place to congregate seems to be each of our kitchen tables though, and with that comes snacking. At a friend's house the other day, we munched on carrots and Spinach and Kale Greek Yogurt Dip from Trader Joe's. It was totally delicious and pretty nutritious as well, but nonetheless when I read through the ingredients I figured it wouldn't be too difficult to make from scratch either.
Reduced Guilt Spinach & Kale Greek Yogurt Dip
So I made the dip for lunch today for my parents and me. My one complaint is that it took a while to chop up all of the vegetables so finely, and even then I don't think they were in small enough pieces. Next time I make this (and for those of you who will follow this recipe) I would use the food processor to chop up the spinach, kale, and carrots.

This is a great snack with crackers or vegetables, or even a great lunch! The protein content of Greek yogurt keeps you full, and it's easy to digest (due to the lower amount of carbohydrates and therefore lower amount of lactose), and it contains probiotics, "good" bacteria that ensure absorption of nutrients and a proper development of the immune system, and can protect against microorganisms which cause disease. The red pepper is high in vitamin C, folic acid, fiber, and potassium. Spinach is low in calories and high in vitamins, and improves cardiovascular health, has cancer-fighting antioxidants, and improves brain function. Kale is a super-food, high in vitamin K, A, and B6, and fiber and protein.


Here's what you'll need:
yields 4-6 servings
1 (17-ounce) container of 0% plain Greek yogurt
2 tbsp honey
1 cup kale
1 cup spinach
2 green onions
1/3 cup red bell pepper (about half a pepper)
1 medium-sized carrot
2 garlic cloves
1/2 tsp salt
1/4 tsp pepper
1/4 tsp paprika
1/4 tsp chili powder

1. Finely chop spinach and kale (using a food processor). Finely chop carrot, onion, and red pepper. Mince garlic.


2. Combine all ingredients in a large bowl and mix well to combine.


3. Serve with vegetables (use the remainder of the carrots and peppers to start!) or crackers. Enjoy!!


Friday, November 8, 2013

a-peeling breakfast

This week I have off from school (yay!!), so I've been relaxing a lot and trying new things in the kitchen. The other day my friend and I tried making quinoa sushi, and, well, it didn't really work out. We used this recipe, and the original post seemed to be a success.. but our sushi looked as if it was on steroids and the quinoa didn't seem to suffice as the sticky rice substitute. Regardless, the sushi tasted great, and if you're feeling adventurous and in the mood to cut the vegetables into the thin strips (which takes quite a bit of time), then go for it!

Anyway, this morning I started a new 28-day workout plan, and I'm really excited about it! (If it's a good one I'll definintely let you guys know!) My friend Zoe, who's amazing at whipping up delicious recipes, told me the other day about what she eats after her workout and I wanted to try it out too. I woke up this morning and after my workout, tried out her peanut butter and banana quesadillas. Zoe usually makes it with peanut butter and jelly, but since I'm not much of a jelly fan, I substituted a litle bit of Nutella.

After a workout, it's good to eat a combination of carbohydrates and protein to allow your body to replenish the energy storage in your body and to build and repair your muscles.  This recipe has a perfect combination of both and is filling enough to get you energized and ready for the rest of your day!


Here's what you need:
yields 1 quesadilla
1 whole wheat tortilla
approx. 1 small spoonful of Nutella
2 tbsp natural peanut butter
1 medium-sized banana

1. Preheat oven to 350 degrees. Spread a thin layer of Nutella on the tortilla. (You only need a little just to add a bit of sweetness because once the quesadilla is heated, the small portion of Nutella will melt and spread everywhere.) Spread a layer of peanut butter on top of that of the Nutella. Place coins of banana on one side of the tortilla.


2. Bake on one side for 5 minutes. Flip quesadilla, and bake for 5 more minutes.


3. Enjoy!!


Tuesday, November 5, 2013

a pizza work


Here's what you need:
yields 1 medium-sized pizza

1/2 cup all purpose flour
1 1/4 cup whole wheat flour
1 package active dry yeast
1/2 tsp kosher salt
3/4 cup warm water (110-115 degrees)
2 tbsp onions
1 clove garlic
1/4 cup green peppers
1 1/2 tbsp oil
1/2 cup tomato sauce
1/2 tsp oregano
1/2 tsp basil
1/8 tsp red pepper
salt and pepper to taste
toppings of your choice (mushrooms, tomato, olives, red and green peppers, spinach, zucchini, onion, kale)

1. In a small mixing bowl, combine the yeast and water. Whisk once and set aside for 10 minutes, until fomay. This allows the yeast to become activated - the specific water tempterautre is ideal for activation.


2. In a large mixing bowl, combine the flours and salt. Add the yeasted water and oil to the flour. Knead the dough until smooth and elastic (7 minutes).


4. Place dough into an oiled bowl or plastic bag. Allow to rise in a warm spot until doubled in size (45 minutes). Punch down and allow ti rise again (45 minutes).

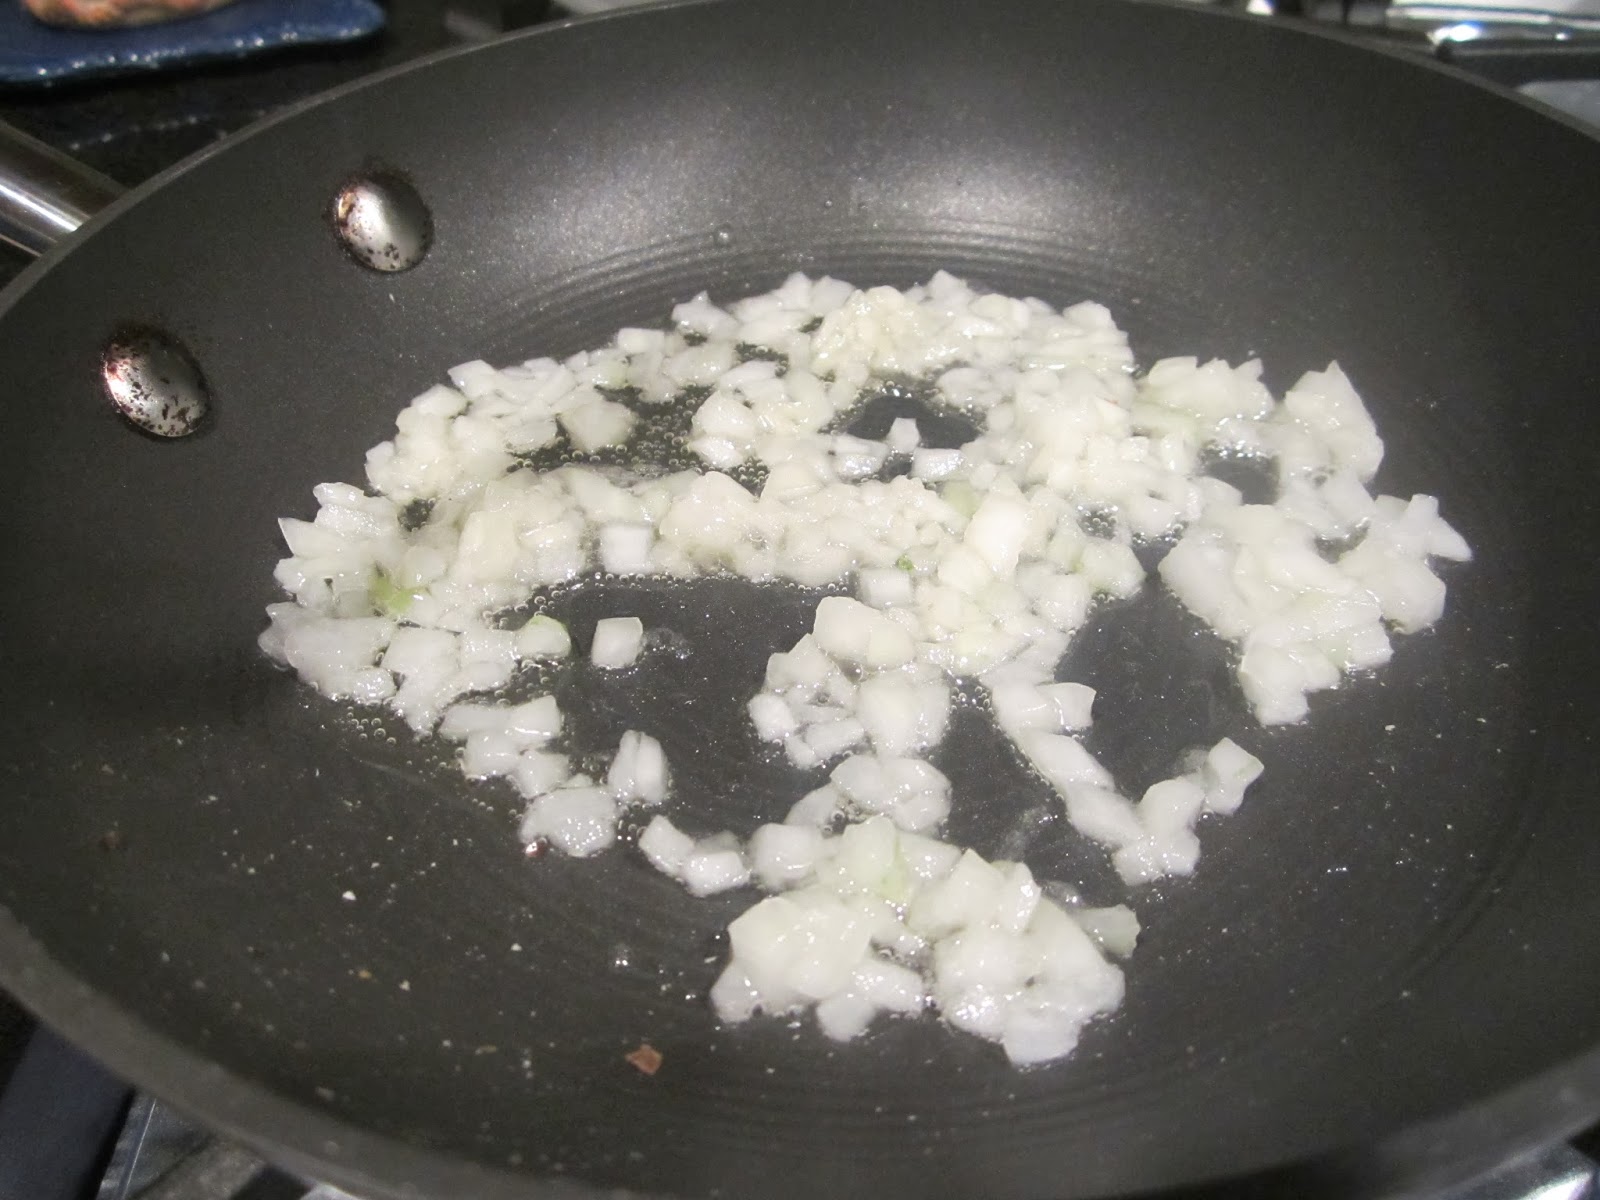
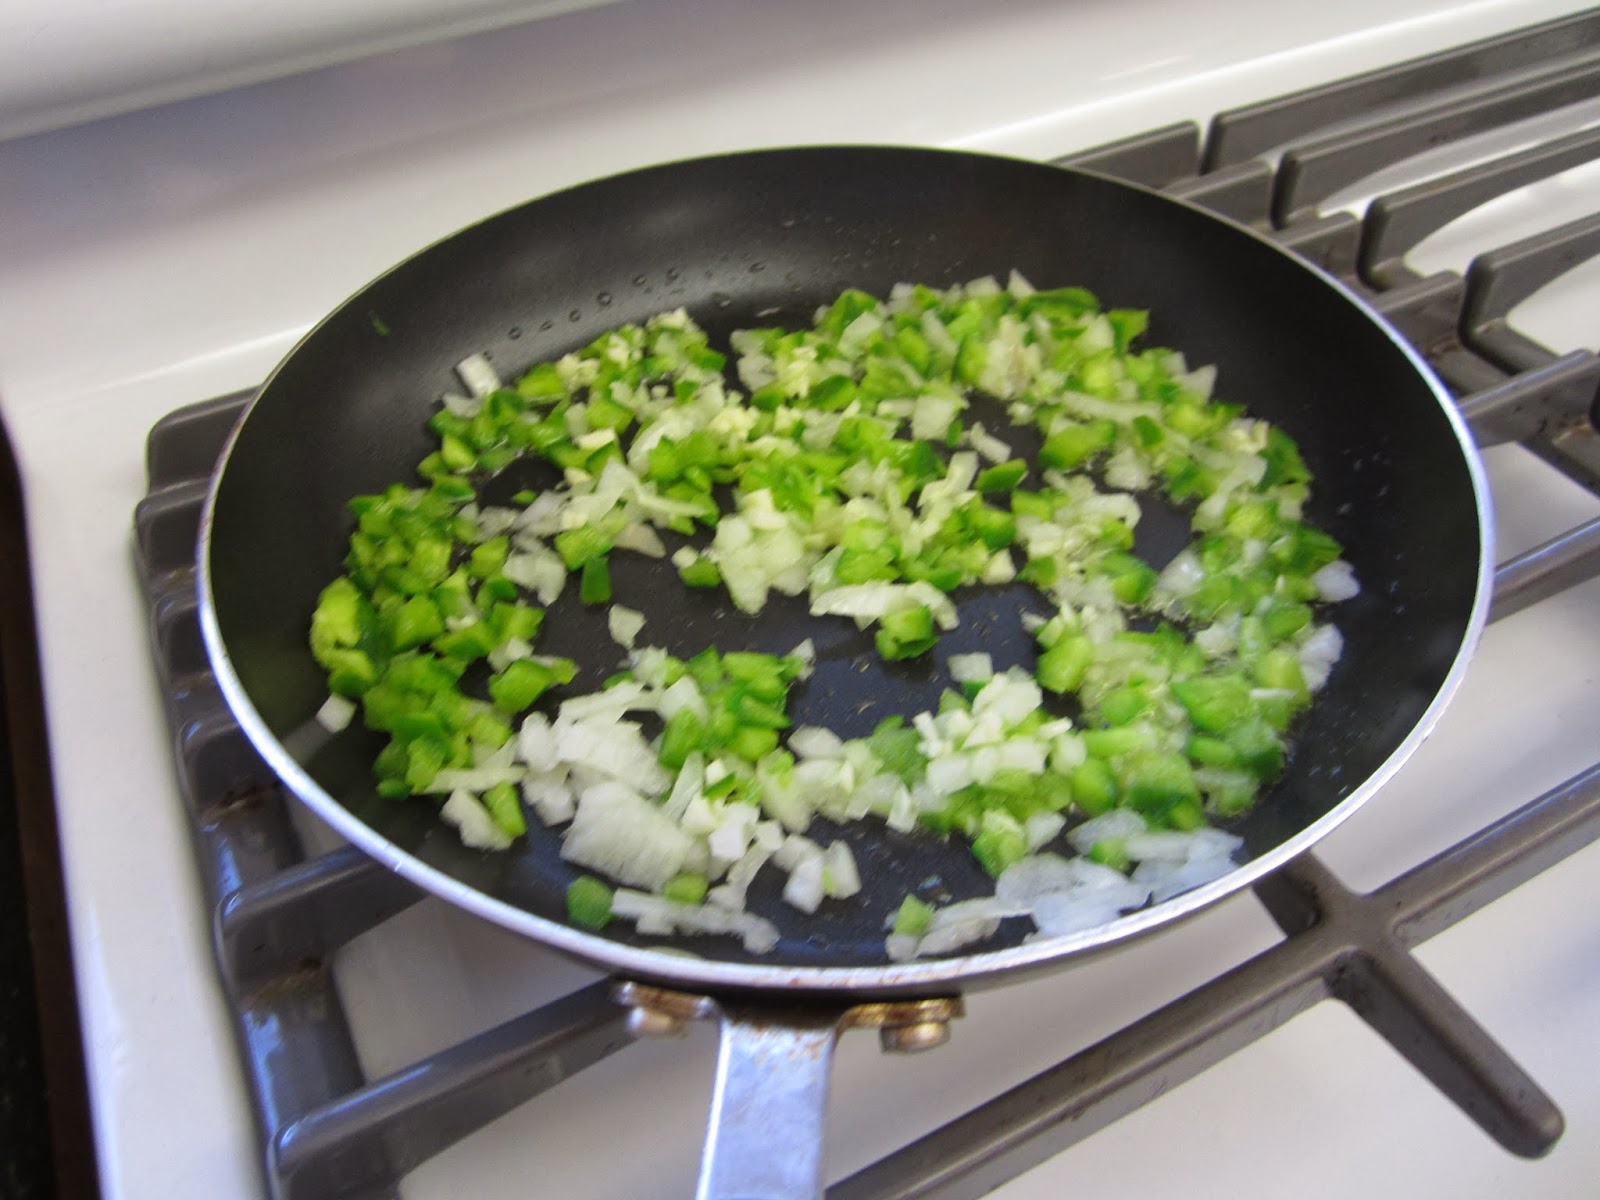
5. Saute vegetables (not including the toppings) in oil until softened.


6. Add tomato sauce, oregano, basil, red pepper, salt and pepper to skillet.


7. When the dough is ready, preheat the oven to 500 degrees. Roll out dough to desired thickness. Spread crust with sauce and top with veggies of your choice. Bake for 10-12 minutes.


9. Enjoy!!!

Tuesday, October 29, 2013

meringue in another year!!

Today is a very celebratory day!! Exactly one year ago, I decided to start up this blog and post my very first recipe. It was the first of many days off from school due to Superstorm Sandy (also a year ago today), and before my power went out, I had been spending my time in the kitchen.. and blogging! Since that first post I have learned so much about baking, cooking, and healthy eating and because of this blog I have tried so many new recipes.

Sixty blog posts, sixty puns, and sixty different recipes later, my blog has had thousands of views and hopefully a lot of beneficial ideas and tips spread to all the readers! I certainly have learned a lot through my experiences as a blogger during this past year, and I anticipate another great year to come!

So thank you to everyone that's been reading my blog and following all of my newest posts!! (And if you want to keep up with what's new, sign up to get emails for each new post - type the email address in the box to the right below the "About Me").

In celebration of this one year anniversary, I made chocolate meringue cookies tonight. As far as nutrition goes, they aren't on the top of the list, but they're pretty much down to the core, only made of a few ingredients. They're also very light and airy, so eating one (or two) won't make you feel full and bloated. They're the perfect size (if you make them relatively small) to pop into your mouth, and they don't taste too sweet or too bland. To me, these cookies feel like edible clouds.

As you can see they all look different.. I tried experimenting with fancy swirls for a while!

Here's what you'll need:
yields 6 dozen small cookies
3 large egg whites
1/4 tsp salt
1/4 tsp cream of tartar
1 cup sugar
3 tbsp unsweetened cocoa

1. Preheat the oven to 300 degrees. In a large mixing bowl, whisk egg whites, salt and cream of tartar until soft peaks form (still fairly liquid but can hold a "peak").


2. Add sugar, 1 tablespoon at a time. Using an electric mixer, beat until stiff peaks form. The mixture will become glossy and sticky. If you were to flip the bowl upside down, nothing would move or pour out. **This does take a while (about 15 minutes) so don't lose hope or get discouraged!!
**What you'll notice is that the very small amount of egg that you begin with will seem to grow as you add in the sugar. This is due to the sugar (which would make sense, wouldn't it?) but also all of the air that's incorporated.


3. Sift cocoa over egg white mixture and fold in (so as not to remove all the air that you just mixed into the mixture).


4. Cover a cookie sheet with parhment paper. Fill a Ziploc bag with batter and squeeze out onto cookie sheet. Bake for 40 minutes.

Here I am attempting to make them look fancy


5. Enjoy!!